Digital Reduction of Film Graininess
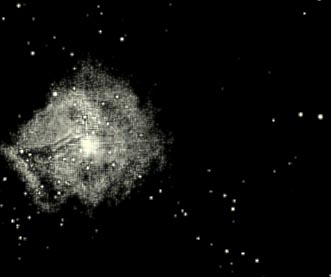
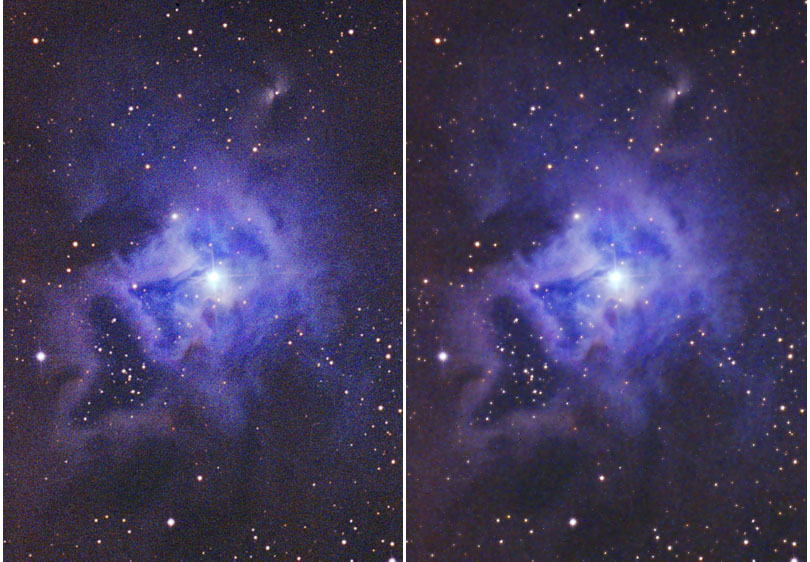
| A photo of NGC7023 by Tony Hallas (used by permission) was used as a reference for this image processing technique. Here is the before and after results of a process developed for grain reduction using the tools in Picture Window: |
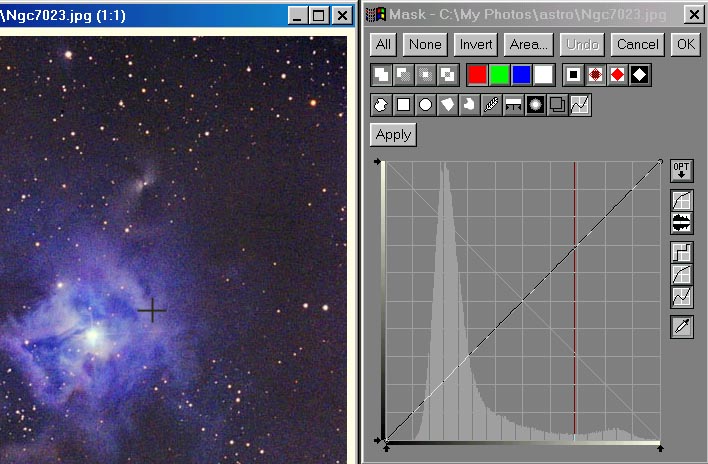
Here's the process: 1) Define a mask which will protect the light area and will allow further processing of the grainy low light areas. a) Load the image into PW b) Select the Mask
Function c) In the Mask Window select the Light
Curve Button d) Select the Probe
e) Now move the left bottom up-arrow to the grid line shown by the red vertical line and press the "Apply" button
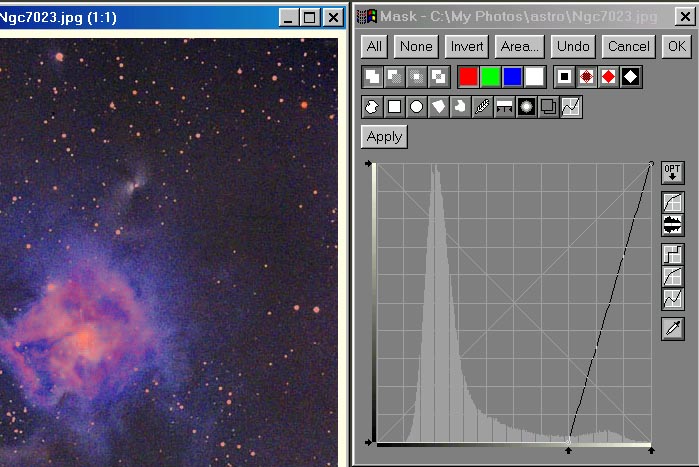
f) Select the masked image, magnify to a 3:1 with the
g) Hit the "OK" button in the mask window. You should now have the completed mask as partly shown below:
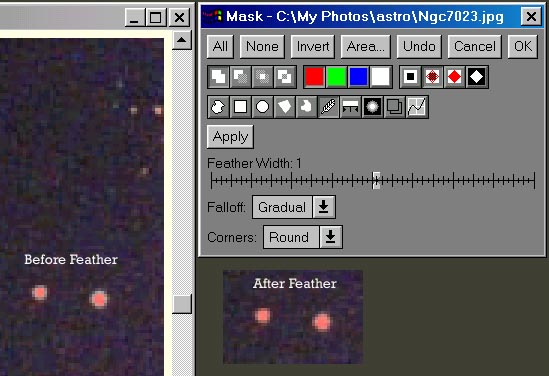
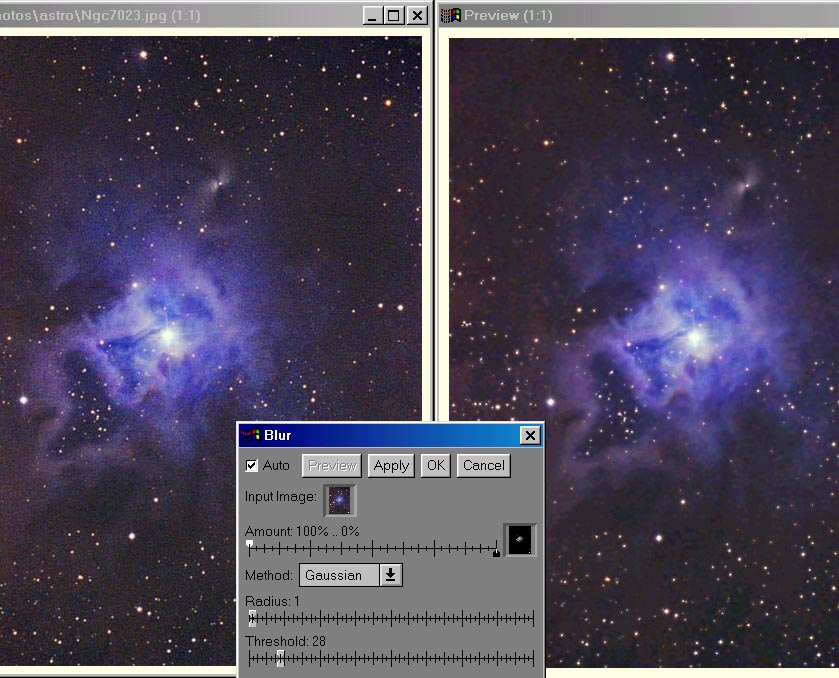
2) Now use the mask with a Gaussian Blur to remove the grain in the low light areas: a) Select the "Blur" function under the
"Transformation" button on the main menu and reset the image back to a 1:1 using
the b) Check the "Auto" box and enlarge the preview image to a 1:1 so that you can see the final result side by side with the original image. For this example the "R" was set to "1" and the Threshold was set to "28". These two setting will vary from image to image. I usually start with R at 1 and then vary the threshold up from 0 until the grain just disappears. Too much of either with make the image look motted. c) Hit "OK" when you have what you want and the final image is ready to be saved. |
Return to AF9Y WebPage on Moonbounce and Weak Signal Detection